Getting Started
Interface Basics
Printers and Scales
Shipping
Order Processing
Order Allocation
Order Processing Loop
Packing Solutions
Backorders
Ready to Ship
"Unable to Process" Order status
Address Validation and Classification
Packaging Features
Orders
Custom Fields for Orders
Reference Numbers
Other Shipping Options
Packing Instructions
Shipping Accounts
External Shipping Methods
Third Party Billing
Manifest Couriers
Packing Slip Design
Service Levels and Target Ship Dates
Outbound SSCC Barcodes
International Shipping
Tracking Numbers for Offline Shipments
Serial Number Tracking
Custom Fields for Shipments
Receiving
Catalog
Bill of Materials/Work Orders
Bill of Materials
Bill of Materials - Quantity-types
Work Orders
Import Bill of Materials
Virtual Inventory
Regulations
Products
Product Attributes
Lots/Expirations Tracking
Product Velocity
Import Products
Operations
Warehouse
Picking Classes
Picking Batches
Bulk Fulfill Orders
Put-Aways
Manifests (Loading)
License Plates
Time Tracking for Administrators
Time Tracking for Staff
Relocations
Import Locations, Lots and Inventory
Assets
Batching Presets
Rating
Rate Shopping
Rating Maps
Rate Groups and Plans
Fee Schedules and Adjustments
Virtual Shipping Methods
System
Configuration
Merchants and Brands
Warehouses
User Management
User Roles
User Groups
Login via Badge
Protected Customer Data
Enumerations
Technical Contact
Integrations
Shopify
Integrations Overview
Amazon Merchant Fulfillment
Amazon Selling Partner
CartRover
EasyPost
eHub
External Shipping Method API
Freight Club
Magento 1 / OpenMage
Merchant API Users and Roles
SPS Commerce
ShipStream Plugin Fostering Program
Webhooks
Global Integrations
Magento 2 / Adobe Commerce
WooCommerce
UPS
Scripting
Scripting Basics
Before Create Order Scripts
Before Create Order scripts Cookbook
Preprocess Packing Solution Scripts
Ready to Ship Time Scripts
Picking Class Shipment Matching Scripts
FAQ
How-To: FedEx Production Key Certification
How-To: Brand-Specific Shipping Account
Pattern and Replacement RegEx
ShipStream's Subprocessors
ISO Alpha-2 Country Codes
Printer Troubleshooting
ShipStream Flow
Release Notes
ShipStream Releases
Version 2026.1
Version 2026.0
Version 2025.7
Version 2025.6
Version 2025.5
Version 2025.4
Version 2025.3
Version 2025.2
Version 2025.1
Applicable Quantity Migration Guide
Version 2025.0
Revamped Delivery Processing
Version 2024.6
Version 2024.5
Version 2024.4
Version 2024.3
Version 2024.2
Version 2024.1
Version 2024.0
Version 2023.2
Version 2023.1
Version 2023.0
Package Tracking API Migration Guide (2023.0)
Version 2022.2
Version 2022.1
Version 2022.0
Version 2021.6
Version 2021.5
Version 2021.4
Version 2021.3
Version 2021.2
Version 2021.1
Version 2021.0
Version 2020.2
Version 2020.1
Version 2020.0
Version 2019.9
Version 2019.8.1
Version 2019.8
Version 2019.7
Version 2019.6
Version 2019.5
Device Hub Client Updates
- All Categories
- Catalog
- Bill of Materials/Work Orders
- Import Bill of Materials
Import Bill of Materials
Shipstream allows users to import Bill of Materials from Excel or CSV files. This article explains the following topics: Bill of Materials Import Configs. Start Bill of Materials Import Task. Format…
Shipstream allows users to import Bill of Materials from Excel or CSV files. This article explains the following topics:
Bill of Materials Import Configs
Import Configs allow users to quickly run an import task based on pre-defined configurations for each merchant, or for all merchants. The standard Import Configs provided out of the box are available for all merchants and will cover most situations but if you need to add additional configurations follow the instructions below.
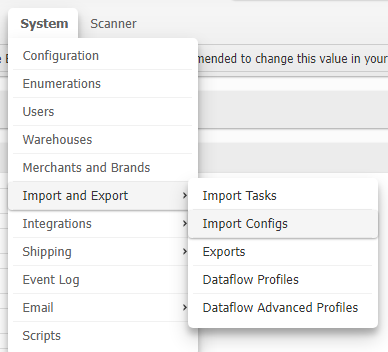
- Navigate to System > Import and Export > Import Configs.
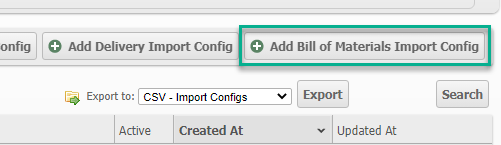
- From the "Import Configs" page, click Add Bill of Materials Import Config in right side of the Manage Import Configs header.
- In the Config Information, fill out the following fields:
- Choose a merchant to associate with this config, or use the default "ALL" value to apply to all merchants.
- Set the config's Active field to Yes.
- Set a descriptive Name for the Config.
- Choose the data format for your import files (JSON or CSV).
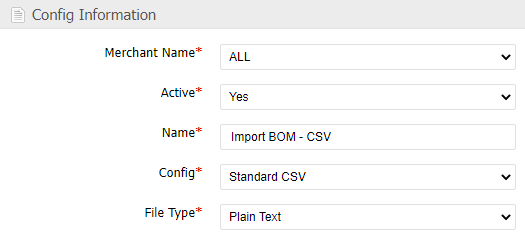
- Choose a file type for the import files (Excel or Plain Text).
- Click Save when finished updating the fields.
Start Bill of Materials Import Task
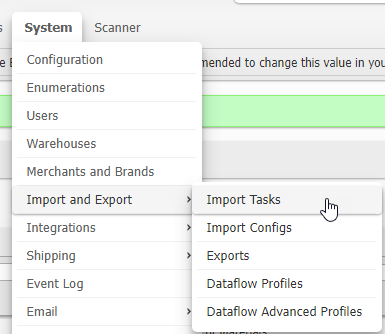
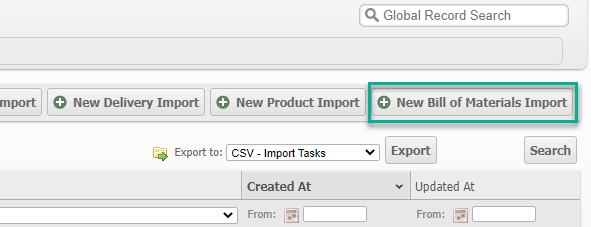
- Navigate to System > Import and Export > Import Tasks.
- Click New Bill of Materials Import.
- Select your Import Config from the list. If none appear in the grid, follow the instructions for creating a Bill of Materials Import Config.
- Click Choose File to select your BOM import file. If you do not yet have a file, follow the instructions to Format the Import File.
- Choose the Merchant associated with the BOM products.
- Only one option for Handle Duplicates is currently supported. "Create", simply creates the BOM product regardless of if there is an existing BOM product.
- To receive an email notification when the BOM Import Task is complete, then set "Send Email on Complete" to yes. The BOM Import Task can take a moment when importing large product lists. This email address can be configured by navigating to System > Configuration > General > Import > Task Complete Email.
Import Products Troubleshooting
If your Import Task fails, there will likely be an error included on the task page. This can occur if a BOM component can not be found, or if there is a typo in the attribute names.
- From the Progress page, click View Import Task. Or if you are on the Import Task Grid, click the Import Task.

- Click the Records tab.
- The error message will appear in the Parse Error or Submit Error column. You can click this to view the specific error message.
Format the Import File
Once you've chosen a method for importing, you will file a download link for the sample import file on the next page or create one from scratch.
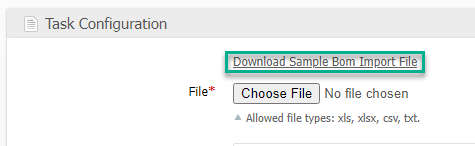
If you chose an Excel/CSV Import Task, then clicking this will download a .csv file
To better understand the attributes, please see the table below.
BOM Attributes
The following table contains examples and definitions for import file BOM attributes.
General
Attribute ID | Description | Example |
id | The "id" column is not stored but is required to associate multiple rows in the import file as belonging to the same record. All rows belonging to the same BOM must have the same id and the id must not be used to describe multiple BOMs in the same import file. | 1 |
name | The "Name" attribute. A descriptive, but not necessarily unique, identifier for the BOM product. *Required | Generic Parts Pack |
sku | The "SKU" attribute. A unique identifier for the resulting BOM product to be created or modified (if exists). | BOM-PARENT-001 |
yield_qty | Quantity produced after "Bill of Material" is performed. *Required | 2 |
is_kit_on_demand | Set this flag "yes" if items are picked when the order is fulfilled. This is done during the picking process. | yes |
is_kit_to_stock | Set this flag to "yes" if items are assembled, barcoded, and stocked on shelf. | yes |
assembly_instructions | Instructions displayed to the scanner user at the Work Order screen | Cover with plastic protection. |
priority | If multiple BOMs are defined for a SKU, then they will be processed in ascending order of this field. An integer. | 0 |
component_sku | The product SKU of the component. | component-A |
component_qty | The quantity of the component item consumed by the BOM. A positive integer. | 1 |
How did we do?
Work Orders
Virtual Inventory