Table of Contents
Manifests (Loading)
A ShipStream Manifest is a collection of packages that are being shipped via the same Manifest Courier (pickup driver) and are bundled together as one unit to be transferred to the carrier. A common…

A ShipStream Manifest is a collection of packages that are being shipped via the same Manifest Courier (pickup driver) and are bundled together as one unit to be transferred to the carrier. A common example of when you would use a Manifest would be if you are stacking packages onto a pallet which is then loaded onto a UPS truck for pickup. A Manifest is built using the Loading feature in the Scanner UI. While this feature is optional in most cases, it does offer several benefits if you choose to use it:
- Scanning the shipping label barcode will ensure that the tracking barcode is readable.
- Prevent a user from unintentionally mixing a package with other packages destined for another manifest courier.
- Prevent a user from unintentionally loading an entire manifest onto the wrong truck.
- Increase accountability for the pickup carrier since the manifest contains a record of every package that is transferred to the carrier.
- Depending on the carrier and the service levels, additional data may be transmitted to the carrier and additional documents may be received and printed (USPS SCAN Forms, driver manifests, etc).
Requirements
Before you can use this feature you will need to setup a few new barcodes in your warehouse. This setup does not need to be repeated for each Manifest.
Load Location barcode
The first new barcode you need is a "Load Location". Load Location barcodes must be specific to the pickup carrier and have a suffix that can be anything you like. You will want to affix this label nearby to where you will be loading packages for a given carrier and will want to make the carrier referenced by the barcode obvious to the person performing the package loading.
The barcode encoded value must begin with LL:. Next include the correct carrier code from the table below, then a hyphen, and then your suffix of choosing. If you have multiple load locations for the same carrier make sure each suffix is unique for each warehouse. Packages assigned to different Load Locations will belong to different Manifests.
For example, to create a Load Location barcode for FedEx Ground called "A" the barcode encoded value should be:
LL:fedex-A
Manifest Courier barcode
The second new barcode you will need is for a Manifest Courier. These codes are unique for each pickup driver so that one driver should only pickup manifests with the same Manifest Courier codes. You will want to place this barcode in a location near where the manifest will be transferred to the carrier such as near the dock loading bay where the pickup driver typically receives your shipments.
The barcode encoded value must begin with MC: and then include the correct pickup carrier code from the table below.
CT: prefix. The old barcode format is still supported for backward compatibility and is fully interchangeable.For example for FedEx Ground, the barcode encoded value should be:
MC:fedex
External Shipping Methods
If you are using an External Shipping Method you can set the default Manifest Courier for all packages assigned to that shipping method. This is performed by setting the Manifest Courier field when editing an External Shipping Method from the System > Shipping > External Shipping Methods page. If using the External Shipping Method API the Endpoint Url may also return a manifest_code which may override the default if one is set. If a Manifest Courier is not set for an External Shipping Method and no manifest_code is returned then you will not be able to use the Loading feature for those shipments.
Operation
The basic steps to creating and completing a manifest are:
Load Packages to a Manifest
- Tap "Scanner" to open the scanner UI.
- Tap "Loading" to start the Loading feature.
- Scan a shipping label's tracking number barcode. ShipStream will lookup the shipment data by this tracking number and display the logo for the correct carrier.
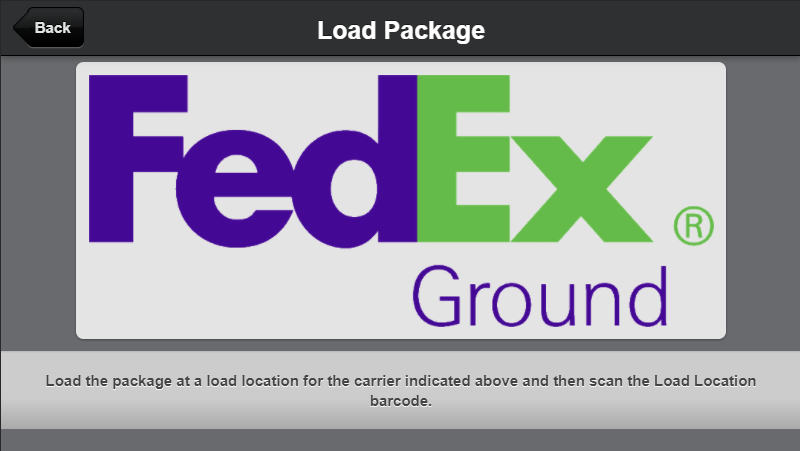
- Scan the correct Load Location barcode which corresponds to the logo displayed. On success, an audible "ding" sound will play and you will be returned to the previous Loading page.
- Repeat steps 3 and 4 until the container at the load location is full or you are done loading packages.
Seal the Manifest
Sealing a manifest does the following:
- Prevents additional packages from being added - the load location label can be re-used but will start a new manifest rather than adding to the existing one.
- Transmits information about the packages on the manifest to the carrier if applicable (e.g. performs the FedEx Ground "Close" operation or print a USPS SCAN form)
- Fires the "manifest:sealed" webhook event topic.
- Prints a Manifest Label which can be applied to the container as physical evidence of when it was sealed and what is contained within.
Example Manifest Label
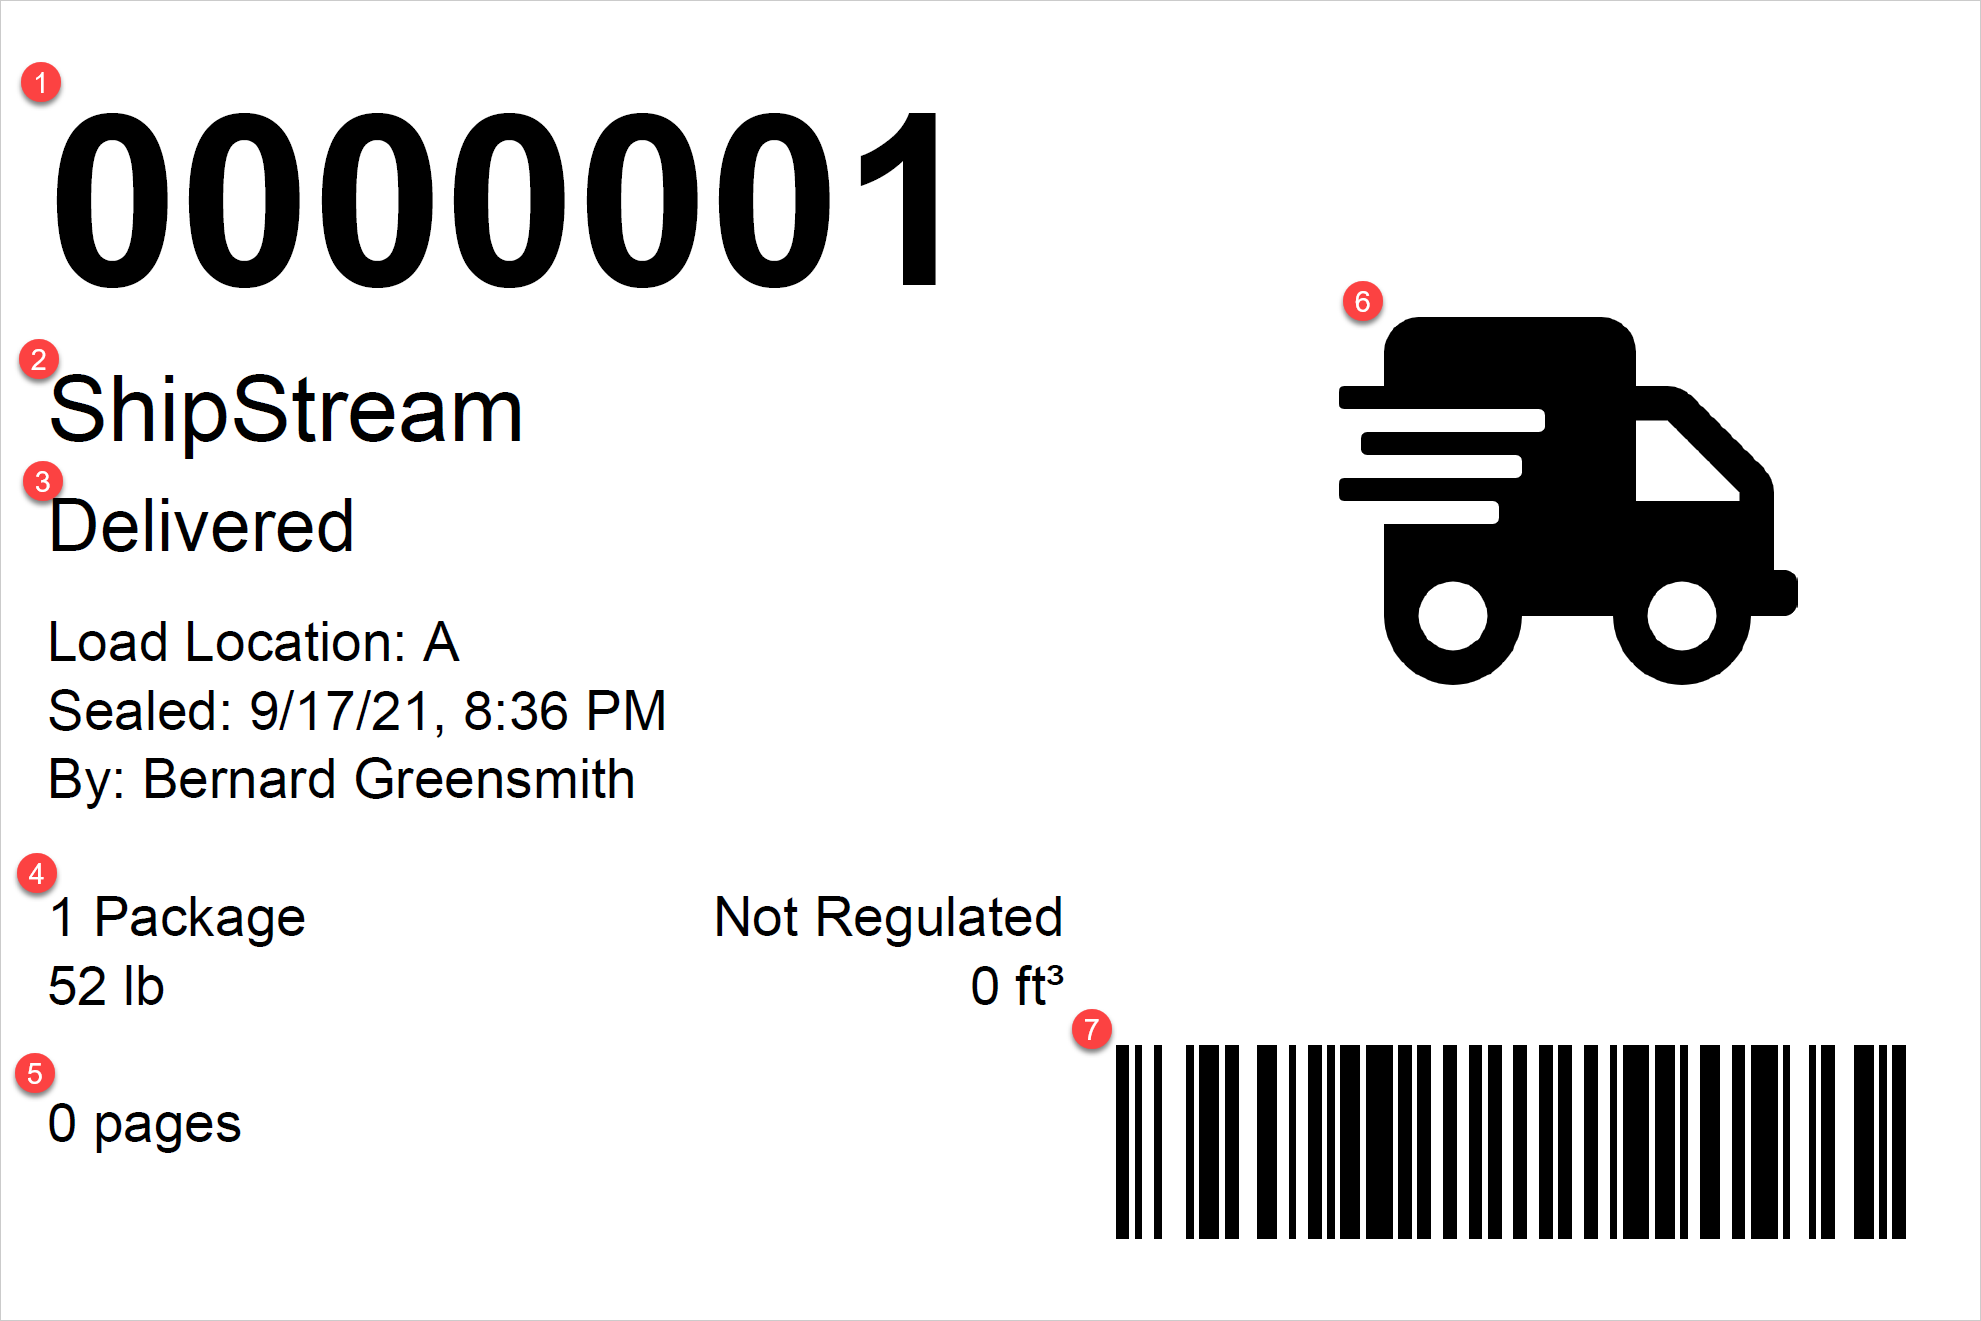
- The Manifest ID
- Your company name
- The Manifest Courier company name
- Summary of contained packages (count, weight, regulated goods types, cubic volume)
- Number of pages of accompanying documents generated by the carrier integration
- The Manifest Courier company logo
- The manifest barcode used for the Loading step.
Seal Manifest Steps
- From the "Loading" page of the Scanner UI, tap "Seal Manifest" and scan the Load Location barcode for the Manifest you wish to seal.
- Select the Container Type
- If the Container Type chosen is "Truck/Trailer", you may be required depending on configuration to provide a "Trailer #" which can be any piece of information to help identify a specific trailer to which the manifest was loaded for future reference.
- Tap "Print Label". A label will be printed with a summary of the manifest data including a logo for the pickup carrier and a barcode identifying the manifest (example above).
Load the Manifest
Loading the manifest ensures that the correct container of packages (e.g. a sealed pallet) gets loaded onto the correct truck. If the Container Type is "Truck/Trailer" this step is skipped and the manifest status will go straight to "Loaded".
- When you are ready to remit the sealed manifest to the manifest courier, from the Loading page on the Scanner UI tap "Load Manifest" and scan the manifest label printed in the previous step.
- If the Container Type chosen in the previous step is anything other than Truck/Trailer and depending on the configuration you may be required to enter a "Trailer #" which can be any piece of information to help identify a specific trailer to which the manifest was loaded for future reference.
- Scan the correct Manifest Courier barcode corresponding to the manifest and remit the manifest to the carrier along with any accompanying documents.
How did we do?
Put-Aways
License Plates