Table of Contents
Rate Shopping
The Rate Shopping feature set in ShipStream provides accurate rate quotes and can automatically determine the optimal shipping carrier and service for each shipment based on the customer's expectations.
Rate Shopping in ShipStream enables users to select a virtual shipping method for an order, which is then resolved to the most cost-effect real shipping method or methods based on the rating data that you supply. The same rating data is also used to deliver rate quotes to API consumers and integrations that support rate quoting, such as the Shopify integration.
This feature ties together many other features of ShipStream, so it helps to have a good understanding of the following concepts before you begin:
- Packing Solutions
- Order Allocation (if you ship from multiple warehouses for the same merchant)
- Service Levels and Target Ship Dates
- Shipping Accounts
Requirements
At a high level, the requirements for achieving accurate rate shopping are:
- Rating Zone Map tables to map the destination country and postcode to a zone for a given origin warehouse
- Days In Transit Map tables defining expected days in transit from the origin to the destination country and postcode (not needed in some cases, may be optional in others)
- DAS Map tables describing areas affected by delivery area surcharges (optional)
- A Fee Schedule defining the applicable surcharges (optional)
- Rating Plan tables defining the base cost for a given package weight and zone
- A Rating Group defining a set of Rating Plans
- A Merchant Rate which assigns a merchant to a Rating Group
- One or more Fee Adjustments to apply on top of the base rate and fees (optional)
- A Virtual Shipping Method to be assigned to orders that are to be rate-shopped
When all of this data is in place, ShipStream will use it to calculate the shipping costs in real-time, ensuring that your orders are allocated to the optimal warehouses and shipping via the optimal carrier and service to minimize costs while meeting your customers’ expectations.

Setting up Rate Shopping
To break it down, the steps to achieving rate shopping are:
- Upload the tables described in requirements 1-3. See Rating Maps.
- Create Fee Schedules for the services you support. See Fee Schedules.
- Create a Rate Group and the appropriate Rate Plans, assigning the appropriate Fee Schedules from step 2. See Rate Groups and Plans.
- Create a Merchant Rate, assigning a Merchant to the Rate Group created in step 3. See Add a Merchant Rate.
- Create your Fee Adjustments as needed (negotiated discounts, surcharge adjustments, etc...). See Fee Adjustments.
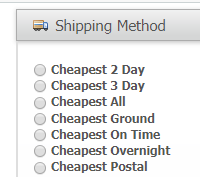
- Create one or more Virtual Shipping Methods if needed. See Virtual Shipping Methods.
- Enable one or more Virtual Shipping Methods for the merchant. See Enable Virtual Methods.
Now, when a virtual shipping method is designated as an order's shipping method, ShipStream will use all the data provided above to determine which shipping service is the best fit for each of the order's shipments!
The rate shopping will only occur when an order is Ready to Ship and the shipping method chosen can be seen in the Shipment section on the Order page.
The actual shipping method will be re-evaluated and therefore could change any time an order's key details change, such as when backordered items come in stock, or the address changes classification, etc.
Add a Merchant Rate
A Merchant Rate assigns a single Merchant to a single Rate Group for a range of dates. Multiple Merchant Rates can be used to schedule automatic change-overs in pricing.
- Navigate to Rating > Merchant Rates
- Click Add New Merchant Rate
- Select a Merchant to which this rate assignment will apply
- Select a Rate Group that applies to your selected merchant
- Set the Active status and Active From and Active To dates according to your needs
- Click Save Merchant Rate
Enable Virtual Methods
- Navigate to System > Configuration and click the Shipping Methods tab under Sales.
- Expand the Virtual Shipping Methods pane.
- Set Enabled to Yes.
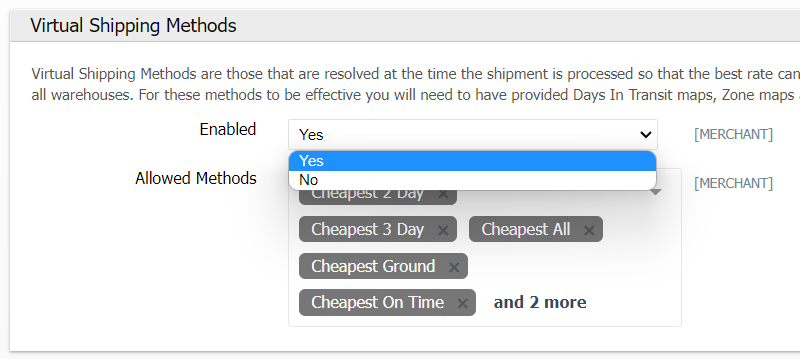
- Select the virtual methods which you would like to enable.
How did we do?
Rating Maps