Tracking Numbers for Offline Shipments
When a shipment is packed "offline", the package status will become either "Tracking Required" or "Packed" depending on if the shipping method requires a tracking number. For External Shipping Methods, the "Require Tracking Number" option determines if the tracking number is required. For all other shipping methods the tracking number is always required.
Users may add a Primary Tracking Number and Alternate Tracking Number to packages via the Admin UI during or after packing or via the Scanner UI after packing. When processing a large number of packages offline, we advise using the "Complete Shipment" feature described below in the Scanner UI to streamline the process and ensure that all data is present and accurate.
After the required tracking numbers are added, the package status will automatically advance to "Packed".
Complete Shipment UI
The "Complete Shipment" feature of the Scanner UI guides users through the process of adding tracking numbers to packages that require them. This system is ideal for large quantities of packages as the tracking numbers can be added by scanning barcodes.
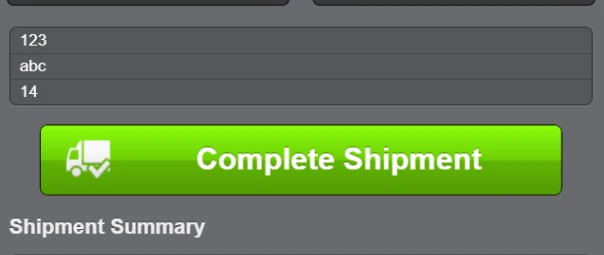
To begin, enter the scanner Packing interface and scan the shipment's packing slip. This will direct the user to an overview of the shipment and you will notice that each package in the shipment includes a "Tracking Required" status in the list of packages. Click Complete Shipment to begin adding Tracking Numbers to finish the packing process.
Auto-Fill Actions
The next screen will show the first package of the shipment and will have two fields with the chosen Primary and Alternate Tracking Description, configured with the External Shipping Method. Input the Tracking Numbers by typing or scanning a barcode with the field highlighted.
With the numbers added, users may click Use For Remaining which will duplicate the chosen Tracking Numbers across all remaining packages in the shipment. This action will immediately redirect users to the Confirmation page after applying the numbers.

Additionally, users may wish to simply fill in the current page with the last-used tracking info from the previous page. If the user is looking at any package other than the first, the option to Use Previous will be available in Blue.

Review the Shipment Tracking Numbers
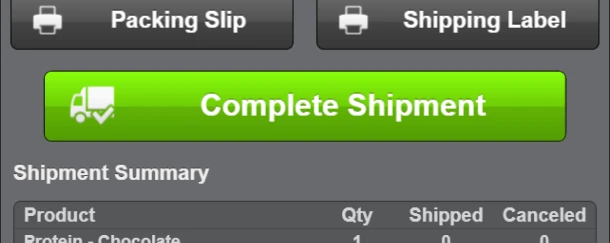
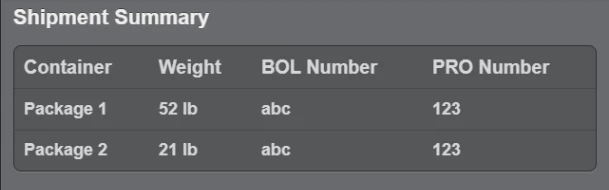
All package items may be re-modified and to do so easily, select a package from the Shipment Summary on the Confirmation Page.
The Total Shipping Cost is optional and will be reflected on the Shipment View screen. Admin Users may also make modifications to these values from the Admin UI after selecting the appropriate shipment. If everything looks correct, click Finish to complete the shipment.

If the shipment includes only one package, then the process is much faster as users do not need to navigate to the next and previous pages. Instead, the two Tracking Numbers and the Total Shipping Cost may be entered here and submitted when the user selects Complete Shipping.