Getting Started
Interface Basics
Printers and Scales
Shipping
Order Processing
Order Allocation
Order Processing Loop
Packing Solutions
Backorders
Ready to Ship
"Unable to Process" Order status
Address Validation and Classification
Packaging Features
Orders
Custom Fields for Orders
Reference Numbers
Other Shipping Options
Packing Instructions
Shipping Accounts
External Shipping Methods
Third Party Billing
Manifest Couriers
Packing Slip Design
Service Levels and Target Ship Dates
Outbound SSCC Barcodes
International Shipping
Tracking Numbers for Offline Shipments
Serial Number Tracking
Custom Fields for Shipments
Receiving
Catalog
Bill of Materials/Work Orders
Bill of Materials
Bill of Materials - Quantity-types
Work Orders
Import Bill of Materials
Virtual Inventory
Regulations
Products
Product Attributes
Lots/Expirations Tracking
Product Velocity
Import Products
Operations
Warehouse
Picking Classes
Picking Batches
Bulk Fulfill Orders
Put-Aways
Manifests (Loading)
License Plates
Time Tracking for Administrators
Time Tracking for Staff
Relocations
Import Locations, Lots and Inventory
Assets
Batching Presets
Rating
Rate Shopping
Rating Maps
Rate Groups and Plans
Fee Schedules and Adjustments
Virtual Shipping Methods
System
Configuration
Merchants and Brands
Warehouses
User Management
User Roles
User Groups
Login via Badge
Protected Customer Data
Enumerations
Technical Contact
Integrations
Shopify
Integrations Overview
Amazon Merchant Fulfillment
Amazon Selling Partner
CartRover
EasyPost
eHub
External Shipping Method API
Freight Club
Magento 1 / OpenMage
Merchant API Users and Roles
SPS Commerce
ShipStream Plugin Fostering Program
Webhooks
Global Integrations
Magento 2 / Adobe Commerce
WooCommerce
UPS
Scripting
Scripting Basics
Before Create Order Scripts
Before Create Order scripts Cookbook
Preprocess Packing Solution Scripts
Ready to Ship Time Scripts
Picking Class Shipment Matching Scripts
FAQ
How-To: FedEx Production Key Certification
How-To: Brand-Specific Shipping Account
Pattern and Replacement RegEx
ShipStream's Subprocessors
ISO Alpha-2 Country Codes
Printer Troubleshooting
ShipStream Flow
Release Notes
ShipStream Releases
Version 2026.1
Version 2026.0
Version 2025.7
Version 2025.6
Version 2025.5
Version 2025.4
Version 2025.3
Version 2025.2
Version 2025.1
Applicable Quantity Migration Guide
Version 2025.0
Revamped Delivery Processing
Version 2024.6
Version 2024.5
Version 2024.4
Version 2024.3
Version 2024.2
Version 2024.1
Version 2024.0
Version 2023.2
Version 2023.1
Version 2023.0
Package Tracking API Migration Guide (2023.0)
Version 2022.2
Version 2022.1
Version 2022.0
Version 2021.6
Version 2021.5
Version 2021.4
Version 2021.3
Version 2021.2
Version 2021.1
Version 2021.0
Version 2020.2
Version 2020.1
Version 2020.0
Version 2019.9
Version 2019.8.1
Version 2019.8
Version 2019.7
Version 2019.6
Version 2019.5
Device Hub Client Updates
Table of Contents
- All Categories
- Getting Started
- Initial Configuration
Initial Configuration
This article will explain the first-time setup configurations to get you started with Shipstream.
ShipStream is highly configurable and it can be overwhelming at first so we have chosen what we think are "sane defaults" for most configurations. However, a few items should be immediately configured to get you going. See Configuration Basics for more information on how configuration works in ShipStream.
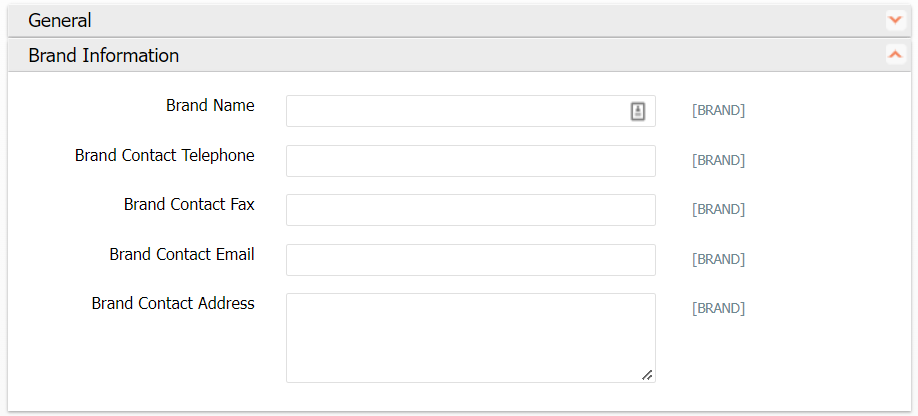
Brand Information
Go to System > Configuration, and click the General tab in the left side menu under the General section. Expand the 2nd pane (Brand Information) and fill out the fields shown below prior to submitting orders.
Warehouse Origin Address
ShipStream will not allow orders to be processed until the Warehouse Origin Address has been set for the specific warehouse originating the order.
Go to System > Configuration, scroll down to find the Shipping Settings in the left side menu under the Sales section.
Expand the 2nd pane (Origin Address) and fill out the warehouse address to set an origin for the orders.

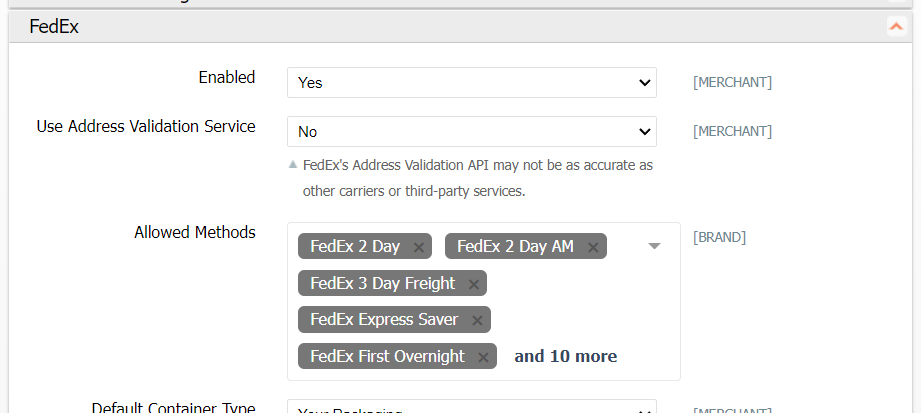
Enable Shipping Carriers
While in System > Configuration, click the Shipping Methods tab in the left side menu under the Sales section. Expand the pane for the shipping carrier you wish to enable and select Yes in the "Enabled" drop down menu.
In addition to enabling a carrier, before you can use one that requires an online account you must add your shipping account information. See Shipping Accounts.
How did we do?
Overview of Your Account
Hardware Support