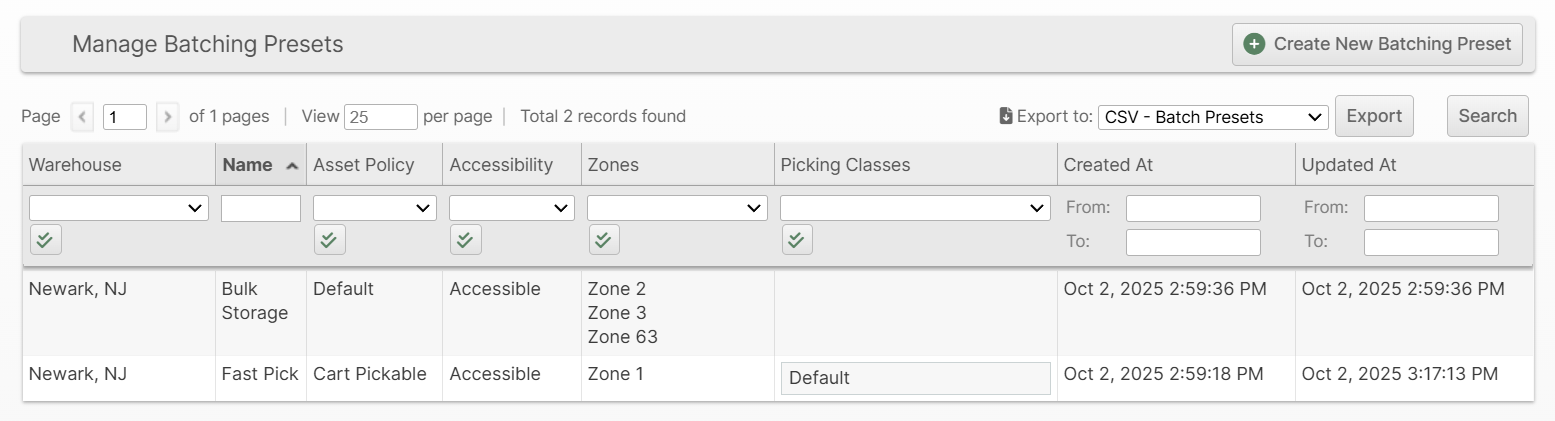
Batching Presets
Batching Presets build on the foundation of Picking Classes, Asset Types, Asset Policies and Zones to simplify the process of creating picking batches that fit your needs best. Using presets ensures consistency across personnel, over time, and reduces potential for human error or deviation from your established batching guidelines.
Whereas creating a batch "By Picking Class" allows you to easily choose a subset of shipments to include in the batch, using Batching Presets affords you these additional levels of control:
- Pick only from accessible (or inaccessible) locations given a set of asset types and location types (see Asset Policies)
- Restrict shipment reservations to a subset of Zones
- Choose shipments belonging to one or more Picking Classes
- Predefined selections to filter shipments by Manifest Courier, Merchants, Service Levels and Batch Tags
- Group shipments by Picking Class, Manifest Courier or Batch Tag (all shipments in the batch must match the group value of the first one)
- Force printing Packing Instructions by default
As an example, you may have a forward pick area that is only accessible to "Standard Cart" and is restricted to "Large Cart", forklifts, etc. If the Standard Cart can access only Pickable Shelf and Pickable Pallet locations, you would create an Asset Policy establishing that relationship; let's call it "Cart Pickable".
Now, you can create a Batching Preset using that Asset Policy which enforces that shipments will only be added to the batch and reserved to pick locations which fit this Asset Policy. If you had a larger warehouse, you can create multiple such presets and restrict each one to a subset of your warehouse using Zones, Merchants or other criteria.
With a well-designed set of presets, your warehouse personnel should now be able to easily create picking batches that perfectly fit their given role and boundaries by simply selecting the appropriate preset when creating a batch.
Creating a Batching Preset
- Navigate to Operations -> Picking Batches -> Batching Presets
- Click Create New Batching Preset
- Fill in the form fields as appropriate (see below for more details)
- Click Save or Save and Continue Edit
Form Fields
Batching Preset Information
Warehouse
This preset will only apply to the selected warehouse.
Name
Provide a human-friendly name for the preset. This will appear in a list when creating a batch by preset. The list will be sorted alphanumerically.
Barcode Identifier
Create a barcode with this value prefixed by "BP:" to allow a user to scan this preset to start performing batching. For example, BP:FastPick-1.
Asset Policy
Choose an Asset Policy to restrict the Asset Types and Location Types allowed for batches created with this preset.
Asset Policy Exclusivity
In all cases, only locations with positive inventory and proper lot burn order (if applicable) are considered when creating a batch. But, based on this selection, the shipments may be further restricted based on how exclusive they are to this preset. The options are:
- None
- All items exist in preferred locations, but are not necessarily exclusive.
- Partial
- At least one item exists exclusively in preferred locations (does not exist in non-accessible locations)
- Full
- All items exist exclusively in preferred locations.
- Re-validate all items exist exclusively in preferred locations per burn order after allocating each shipment.
Warehouse Zones
Restrict pick reservations to the selected warehouse zones. This filter is applied regardless of Asset Policy/Accessibility.
Allowed Workflows
Choose the batching workflows which are allowed for batches created using this preset.
Default Workflow
The default workflow to use when creating batches with this preset in the absence of a user-specified workflow or when the user-specified workflow is not allowed.
Shipment Filters
Picking Classes
Only include shipments with the selected Picking Classes. Leave empty to allow any Picking Class.
Manifest Courier
Only include shipments with the selected Manifest Couriers. Leave empty to allow any Manifest Courier.
Merchants
Only include shipments with the selected Merchants. Leave empty to allow any Merchant.
Service Levels
Only include shipments with the selected Service Levels. Leave empty to allow any Service Level.
Batch Tags
Only include shipments belonging to orders with the selected Batch Tag. Leave empty to allow any Batch Tag. Enter "-" to specify an empty batch tag. Separate multiple batch tags with a comma.
Batch Options
Group By Picking Class
If checked, all shipments in a batch will belong to the same Picking Class. Which Picking Class will be determined by the first shipment added to the batch.
Group By Carrier
If checked, all shipments in a batch will belong to the same carrier. Which carrier will be determined by the first shipment added to the batch.
Group By Batch Tag
If checked, all shipments in a batch will have the same Batch Tag. Which Batch Tag will be determined by the first shipment added to the batch.
Print Packing Instructions
If checked, Packing Instruction documents will be printed inline with packing slips. This can facilitate packing stations that lack a laser printer, for example.
Using Batching Presets
Users operating in the same warehouse that the new Batching Preset was created for will now be able to select the preset when creating a batch using the Admin UI or Scanner UI with the "By Preset" option:
Admin UI
From the Orders, Shipments or Picking Batches grid pages, click Start New Picking Batch, choose By Preset, then select the preset you wish to use and click Submit.
Scanner UI
From the home screen tap Picking, then you have three choices:
Next Up
Tap Next Up and either an existing batch will be assigned to you, your oldest batch will be selected, or a new batch matching will be created for you. In all cases, the batch will match the Preset and Asset Type you've chosen.
Quick Batch
Select a preset from the list at the top of the page, or scan a Batch Preset barcode (those with a BP: prefix) and an Asset Type barcode (those with an AT: prefix). This selection will be remembered until it is cleared (by clicking the red "x" button) or changed.
Tap Quick Batch and then proceed to either Create Now or drill down farther by choosing a Picking Class, Merchant or Carrier.
Precise Batch
Tap Precise Batch and then drill down to the subset of shipments you wish to pick, clicking Create Now when you are satisfied with the criteria.